Hair colouring at home - step by step
 Want to change your appearance without expensive salon visits? Or perhaps you already decided to colour your hair at home? Here’s our step-by-step guide to at-home hair colouring!
Step 1 – choosing the right hair dye
Permanent grey hair coverage, delicate blonde highlights, or maybe a crazy metamorphosis? Start choosing the right hair dye by determining your needs. Among the colouring products you can find:
- • Permanent dyes that provide 100% grey hair coverage, and the effect lasts for a very long time after use. This happens because, thanks to ammonia, which opens the hair cuticle, the dyes contained in the dye penetrate deep into the hair structure, permanently changing its colour. Joanna’s offer includes classic permanent dye providing a long-lasting, shiny effect from the Multi Color, Multi Color Metallic and Naturia Color lines, as well as products based on natural ingredients without ammonia, such as Naturia Organic or Power Men. If you want a lasting effect or 100% grey hair coverage, this solution is definitely worth choosing.
- • Demi-permanent dye, the effect of which lasts up to several dozen washes, and their composition is based on more delicate formulas. What does this mean in practice? The pigments of such a product will begin to wash out over time, returning the hair to its pre-treatment state.
- • Semi-permanent preparations, also called toners, which provide a short-term effect after 4 to 8 (sometimes up to 15) washes, thanks to the use of easy-to-rinse dyes, often without the use of additional activating emulsions. This type of product is an ideal solution for people who like to experiment with their appearance, but do not want to decide on a permanent colour change. A perfect example of semi-permanent cosmetics are Joanna Multi Effect colouring shampoos, which allow you to quickly change the shade of your hair or refresh the effect between colouring treatments.
- • Bleaching products – these are products whose task is to open the hair cuticles in order to wash out the pigment, as a result of which the hair becomes lighter. The intensity of the effect depends on the initial hair colour, the concentration of hydrogen peroxide, and the time the product is left on hair.
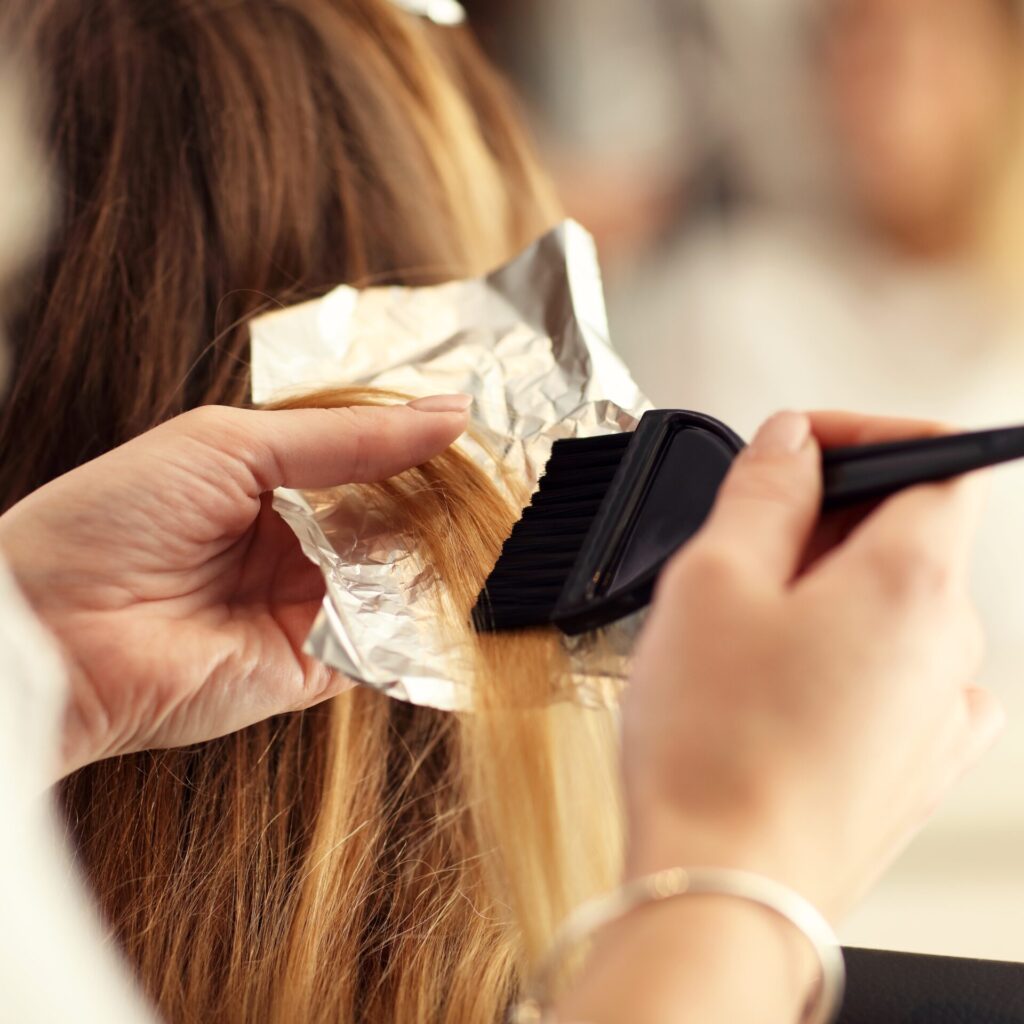
Hair lightening is a more complicated procedure than regular tone-to-tone colouring, because the key is to cover each hair very thoroughly (imprecise application of the bleach or insufficient amount may result in patches and an uneven effect), to select the appropriate bleaching product, and the time of keeping the mixture on hair, as well as the condition of the hair before colouring.
Step 2: Patch test
You should do it prior to EVERY colouring treatment – either at home or at a salon. Even if you are already a veteran of colouring and have used dozens of boxes of your favourite dye, there is always a risk of developing an allergy. Two days before the planned treatment, apply a small amount of dye behind the ear or on your inner elbow. If within the next 48 hours you feel burning, itching, rash and redness on the skin, you should refrain from performing the treatment. Remember that failure to follow safety recommendations puts your health at risk!
Step 3: Prepare the workstation
Ready for a metamorphosis? Find a comfortable place in front of the mirror and protect the table/countertop with a towel or foil where you can place all the necessary tools. You can also wear a special dyeing cape that will protect your clothes (though to be safe, it’s better to wear old tracksuits). Joanna dye boxes always include a sachet of pigment, a sachet or bottle of oxidant, protective gloves and instructions. Read it carefully and leave it in a visible place so you can refer to it when in doubt. Additionally, you will need:
- • ceramic or plastic bowl
- • brush for applying dye
- • clips for dividing hair into sections
- • detangling comb
- • old T-shirt
Step 4. Step-by-step colouring
To achieve satisfying effects of at-home hair colouring treatment, follow several important rules:
- Always divide your hair into sections, starting from the centre of your head down and then towards the top of your head.
- Apply the dye to small sections of hair, starting from the base.
- Make sure to thoroughly cover your hair to avoid patches. If you have thick or long hair, buy two or even three packages of dye so that there is enough product for the entire colouring.
- After applying the dye, set the timer according to the instructions and strictly observe the waiting time – leaving the product on your hair for too long will not enhance the effect and may even harm your hair.
- After the designated time, wash out the dye thoroughly with lukewarm water and then apply a nutrient-rich, deeply moisturising hair conditioner.
- Dry your hair and you are ready to style your new hair!
You already know the most important rules for effective and safe hair colouring at home, so it’s time to turn theory into practice. Rich in knowledge and with the right products that will make the entire process easier for you, the metamorphosis will become a real pleasure!
 Want to change your appearance without expensive salon visits? Or perhaps you already decided to colour your hair at home? Here’s our step-by-step guide to at-home hair colouring!

